The catnip harvest began in late November this year.
There are a number of points in my process which I believe elevate the quality of Kat’s Nip over your bog-standard catnip mouse or treats. The first is this one. When, and how I pick it.
Like most growers, I’m waiting for a particular moment to begin picking my crop. For catnip, I’m waiting for the flower buds to juuuust begin forming.

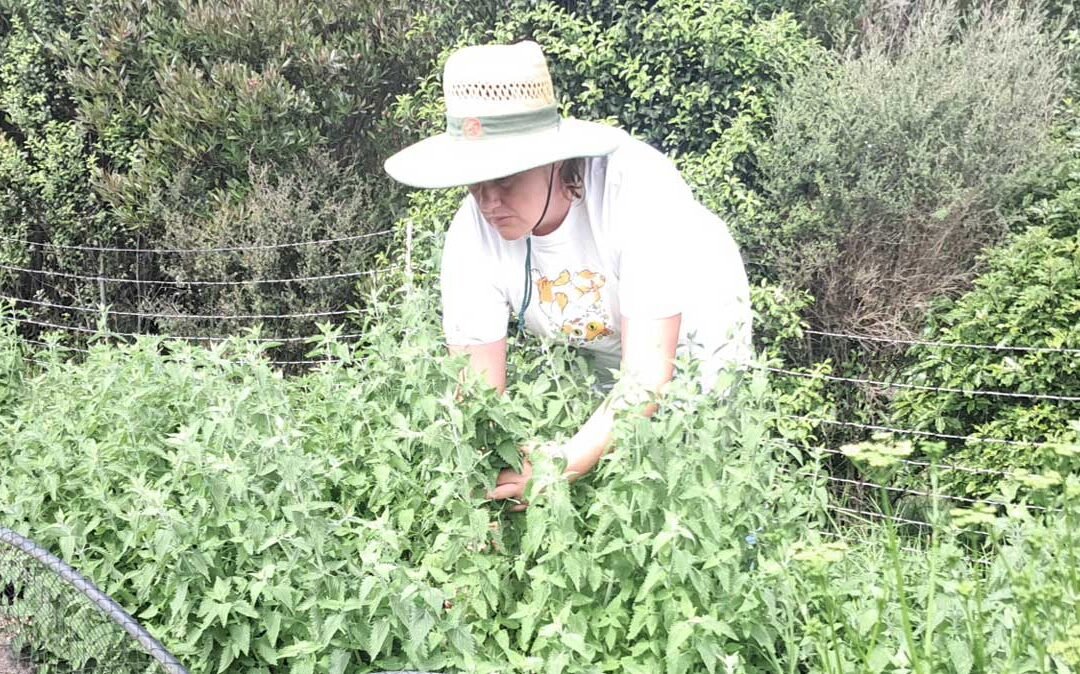
Then each day, once the dew has evaporated from the plants, I go around and take selected stems with a simple pair of secateurs. I collect them in a big bucket that I cart around by hand.
Just a few from each plant. I only choose the best, at exactly the right moment. Once the moment is gone, then I leave that stem on the plant. There are over 50 catnip plants in the garden, and I’m selective about what I sell.
I imagine that is pretty unique. I don’t grow fields of it and mow the plant down with a tractor at once. You can barely tell I’ve even been there.
It means the plants survive to a second or third season, developing strong root networks, growing huge stems with giant furry, extremely fragrant leaves.

Those stems are tidied up individually, by hand. I remove any damaged leaves and evict any hitchhikers. Because I don’t use pesticides, all sorts of creatures make my catnip home.
So far this season I’ve found a plump white cabbage butterfly caterpillar, a paper wasp nest, a pupating-something, and more than a couple of spiders.

Then I tie them in to bunches and hang them in a shipping container to dry on a custom-built rack for 2-3 weeks. Whoever I’ve evicted and the ‘waste’ is returned to the compost.
Once the stems are dry, then they move on to ‘processing’, which is a post you can read right here.